


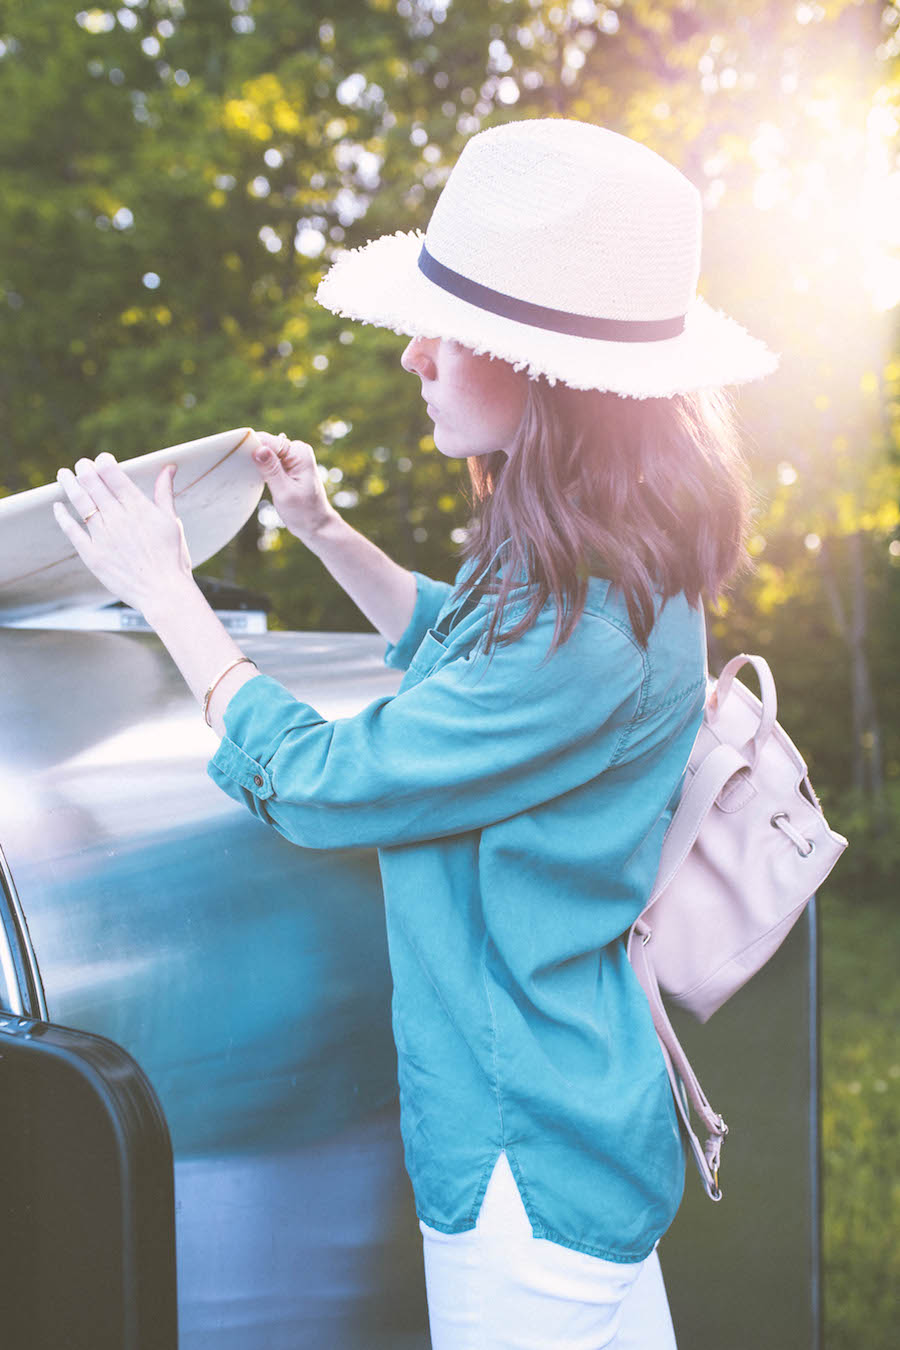
Friends, I’d like you to meet our Teardrop Camper. She was conceived after one late-night conversation about what makes us feel truly alive, and in many ways, she’s the third member of our tiny family (if we’re not counting house plants).
We both crave travel, adventure and simple, intentional living. The kind that can’t be planned for, the kind without itineraries or expectations. For my husband, it’s more of a physical love of the wild, the challenge of overcoming it (and knowing it can never truly be overcome). He seeks adventure in the simplest form, with nothing but a headlamp, a spare rope and a compass in hand.

I’m a nester by nature, and while I like physically being outdoors, I’m more interested in foraging, meditating and making beautiful meals in the woods. I use this time to think, or to think less, and mostly to reflect. I like to be consumed by it, the greenery, the smell of wet pine, the rustling of leaves and the wonder of what’s behind it all.
And so it was our mutual love for the great unknown that led us to build this darling camper - mid-winter - in our friend’s garage, with no heat and plenty of cold beer. And when I say we, I really mean my husband. He took our dream and brought it to life with nothing but a small drawing in hand. And while he sawed, nailed and drilled away, my contributions included holding spare parts, making beer runs and eventually taking over the interior design, the latter of which I took very seriously.

I wanted the tiny camper to be cozy, comfortable and functional. So naturally, I purchased a full-sized memory foam mattress and dressed it head to toe in West Elm bedding. I hand-stitched the little mountain-shaped pillow one night while watching the Grammy Awards and squealed with joy when I found Boris, the skull that hangs overhead and serves as a functional spot for headlamps and sleeping masks. We hooked up a charging station, hung some cabinets to store clothes and wired in reading lights. She’s a constant work in progress, but dreaming up new additions is half the fun!
So far, the camper has taken us as far north as the Blue Ridge Mountains and down South to the Emerald Isle. She certainly has a way of attracting new friends and I’ve acquired some pretty funny stories about camp life along the way. In fact, I might need to start a separate blog for those stories alone. I only wish we had a real name for her, like Thelma or Steely Dan, but nothing feels right just yet. In due time, I suppose.
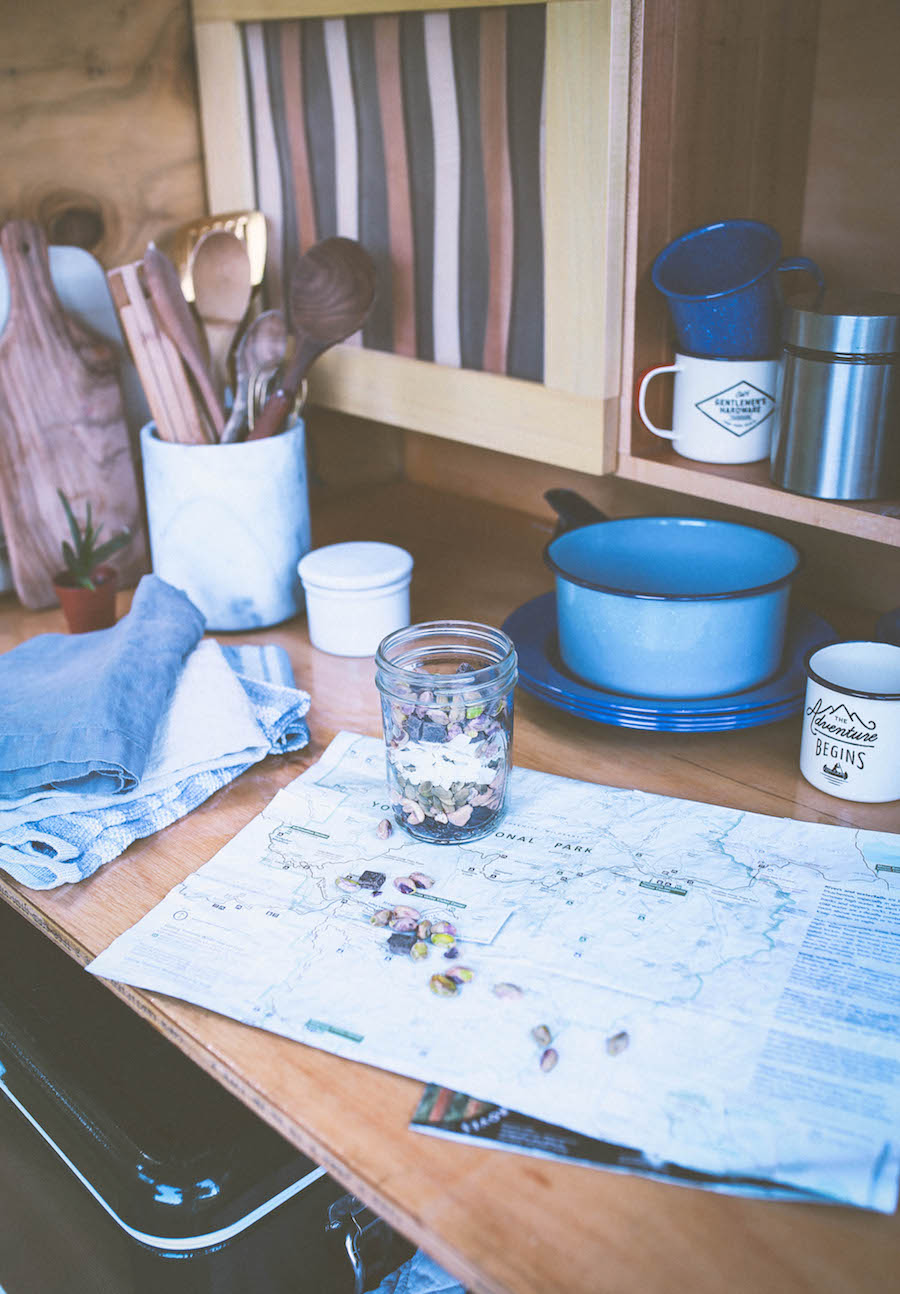

For now, I love learning how to cook in the woods. And whether it’s over campfire or with our trusty Coleman, I know one thing's for sure, food always tastes better outdoors.
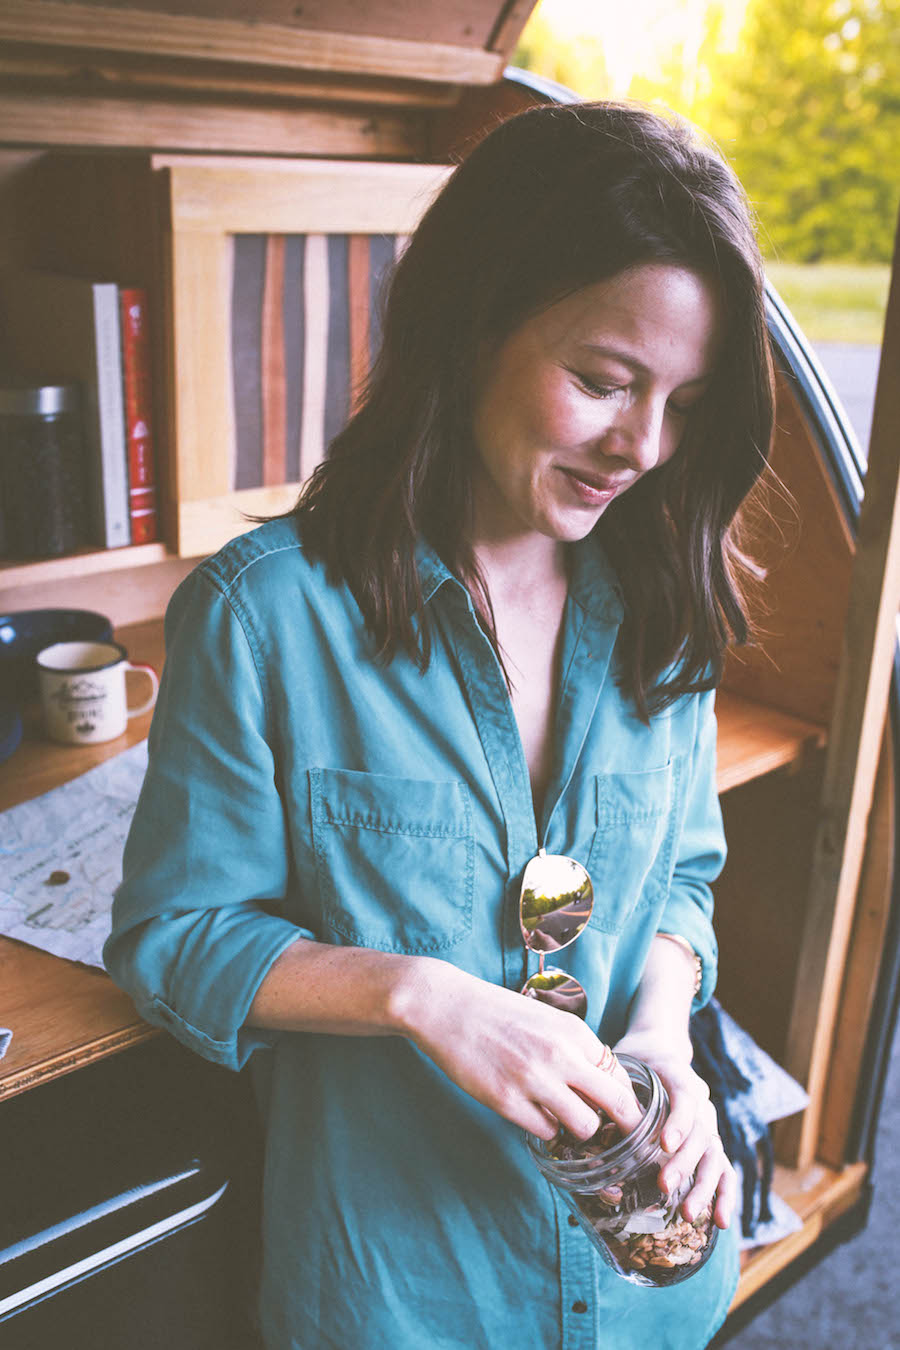
I look forward to sharing some of my favorite recipes for camp cooking with you this summer and for now, I’m bringing you a recipe for my favorite road trip snacks! These Strawberry Rhubarb Pop Tarts pack well in a tin and make for a great snack or quick breakfast when traveling. Loaded with a strawberry rhubarb compote and sandwiched between flaky pie crust, these pop tarts get drizzled with a tasty lemon glaze! I also like to keep a jar of trail mix with me at all times and I find this Dark Chocolate, Pistachio and Cherry mixture to be filling and delicious.
Strawberry Rhubarb Pop-Tarts with Lemon Glaze
INGREDIENTS:
- 1 cup strawberries, chopped
- 1 cup rhubarb, chopped
- 2 Tbsp. orange juice
- 1 tsp. orange zest
- 1 tsp. vanilla extract
- 2 Tbsp. maple syrup
- 1/4 tsp. salt
- 1 Tbsp. corn starch
- 1 package (2 sheets) of store-bought pie dough
- Optional: 1 egg, for egg wash
For the glaze:
- 1-2 tsp. lemon juice
- 1 tsp. lemon zest
- 1 cup powdered sugar
INSTRUCTIONS:
- Place pie dough on the counter and allow it to come to room temperature.
- Meanwhile, prepare the filling. Place the chopped strawberries, rhubarb, orange juice, zest, vanilla, salt and maple syrup in a medium saucepan over medium heat. Stir to combine and let gently simmer until the fruit softens and releases its juices, about 10 minutes. Next, mix together 1 Tbsp. of corn starch with 1 Tbsp. of water in a small bowl. Pour the corn starch mixture into the pot and stir. Heat through until thickened, about 2 minutes, then remove from heat and set aside to cool.
- While the filling cools, prepare the pop tart pastry. On a floured surface, roll out both sheets of pastry into large rectangles and use a sharp knife or a pastry wheel to cut into equal squares. You will likely be able to cut into 16 squares for a total of 8 pop-tarts.
- Place half the squares on parchment lined baking sheets and fill with a heaping spoonful (about 1 Tbsp.) of the fruit filling, leaving a 1/4” border to seal the edges. Next, dip your fingerin water and run around the edges to help the squares stick together. You can also brush the edges with egg wash if you prefer. Top each fruit filled square with a similar sized square of dough and use a fork to crimp the edges.
- Place in the refrigerator to keep cool while you preheat the oven to 400 degrees F.
- Once the oven is preheated, bake on the center rack for 20-25 minutes or until golden. While the pop-tarts bake, prepare the glaze. Place 1 cup powdered sugar in a small bowl and whisk in 1-2 Tbsp. lemon juice and set aside.
- Once the pop-tarts are golden, remove from the oven. Drizzle with the lemon glaze, let cool and enjoy!
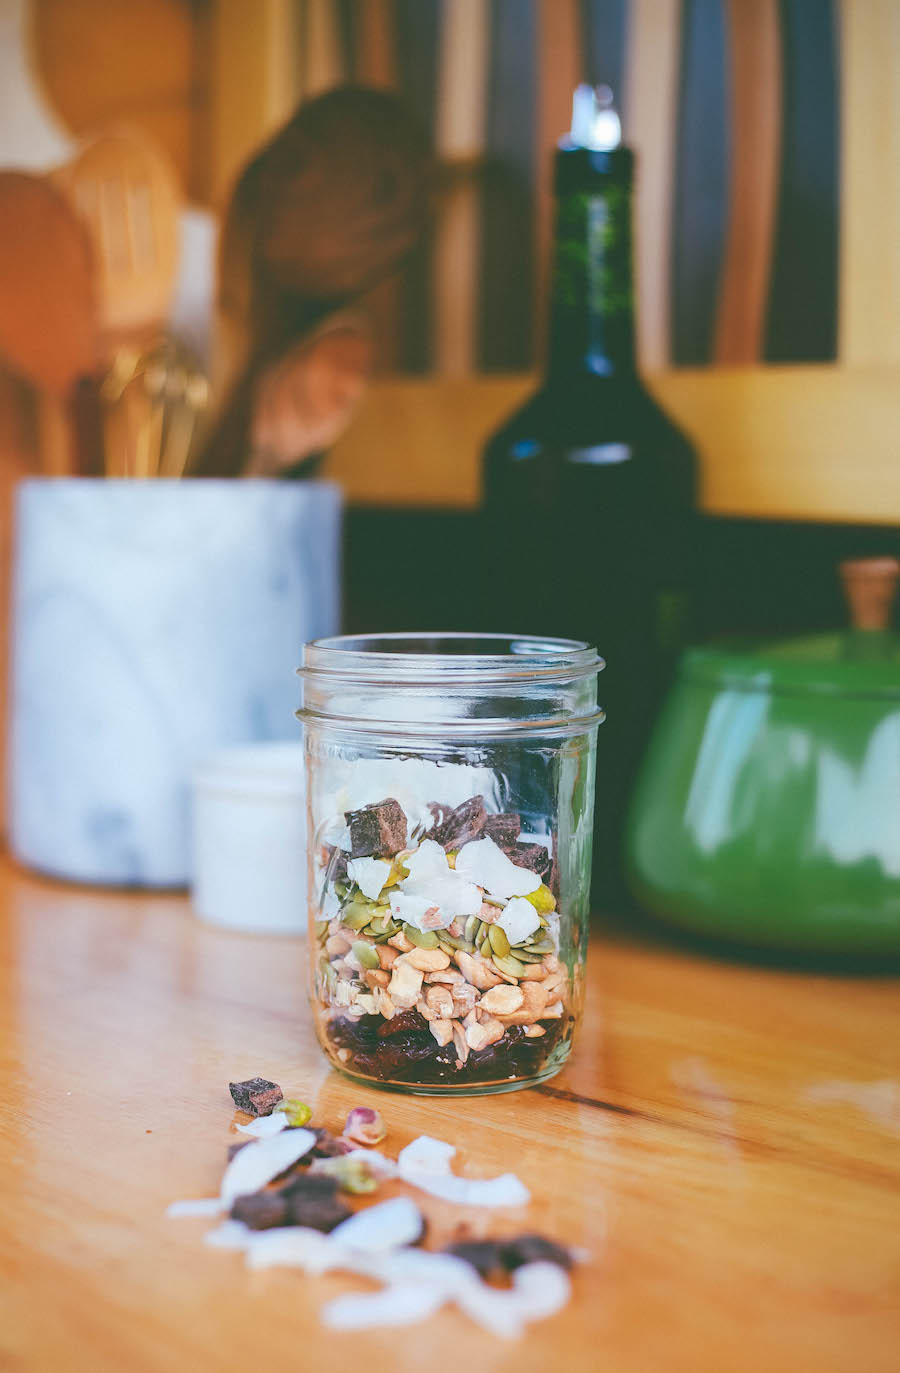
Dark Chocolate, Pistachio and Cherry Trail Mix
- 1/4 cup pistachios
- 1/4 cup dried cherries
- 1/4 cup coconut flakes
- 1/4 cup cashews
- 1/4 cup dark chocolate chips
- 1/4 cup raw pumpkin seeds
Place all ingredients in a sealable jar or container, shake and enjoy!
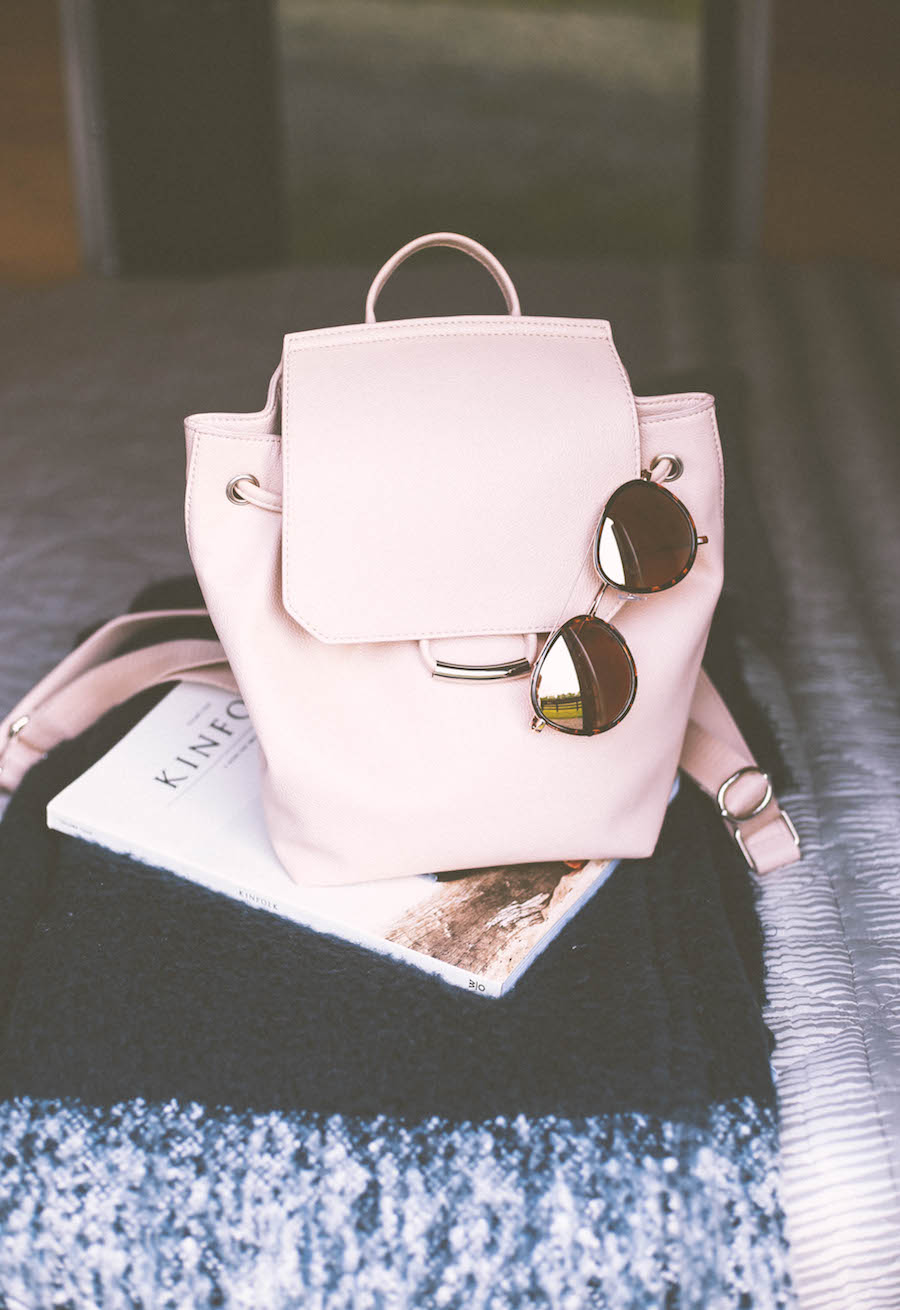
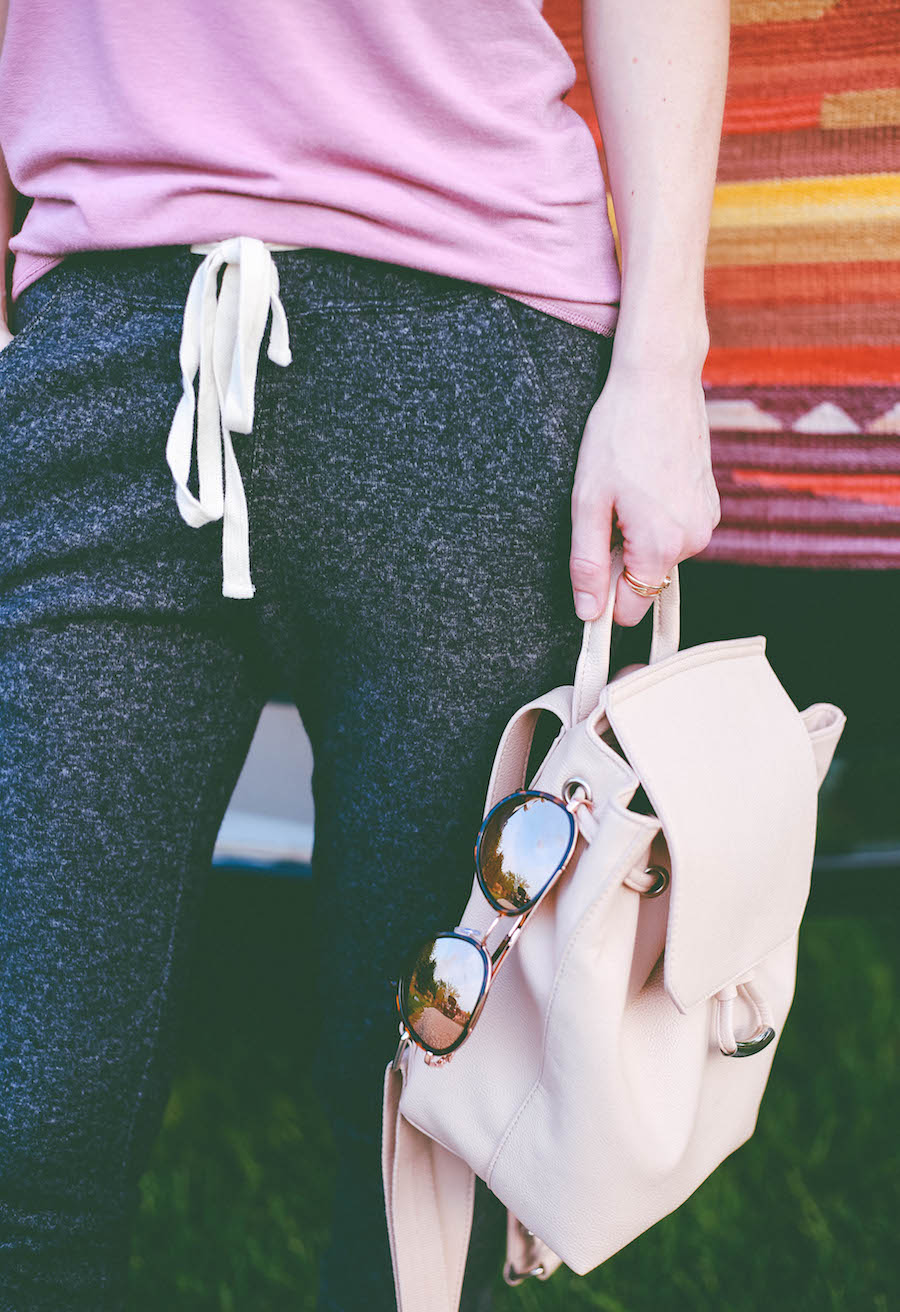
Recipes originally created for The Edit, a lifestyle blog by EXPRESS. Click here to shop the look!